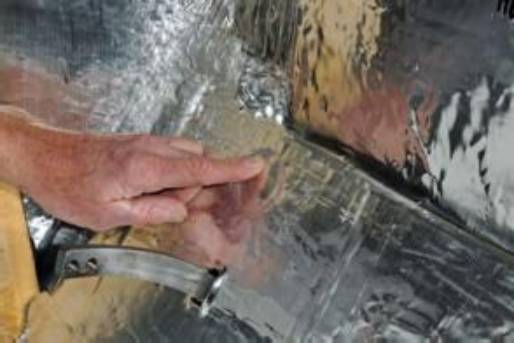
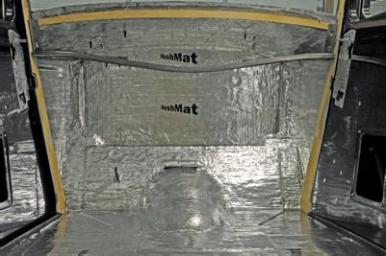
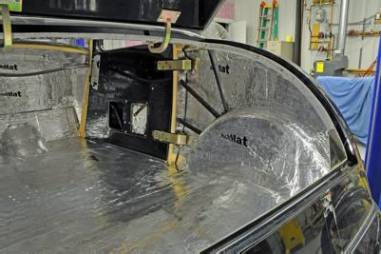
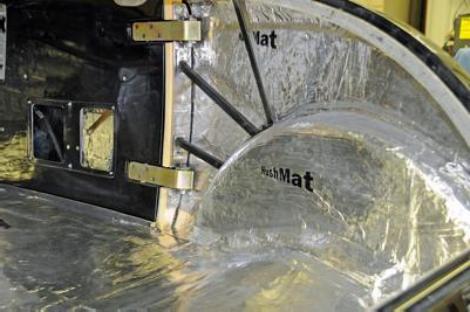
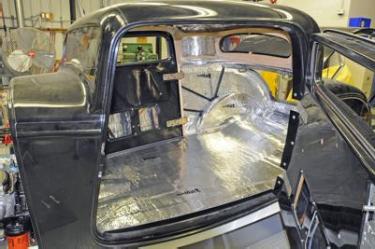
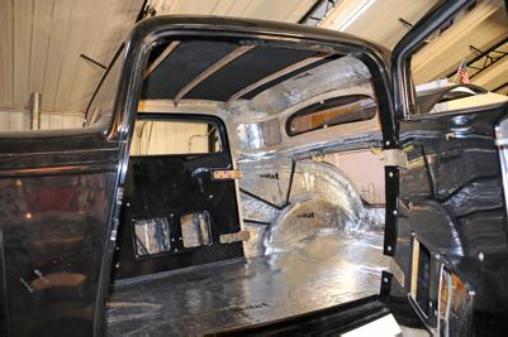
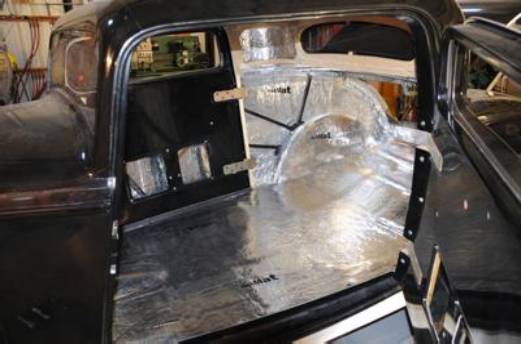
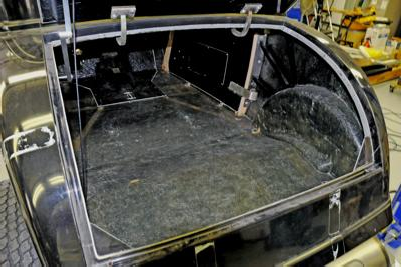
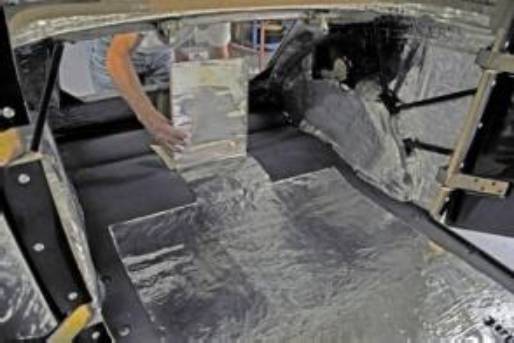
 The trunk area was open as well so installation was easier. There is no special preparation of the surface needed before installing HushMat. No acetone or other solvent cleaning of the surface was required with HushMat. I vacuumed the complete inside of the body to remove any dirt that was loose on the floor. The trunk area was open as well so installation was easier. There is no special preparation of the surface needed before installing HushMat. No acetone or other solvent cleaning of the surface was required with HushMat. I vacuumed the complete inside of the body to remove any dirt that was loose on the floor. 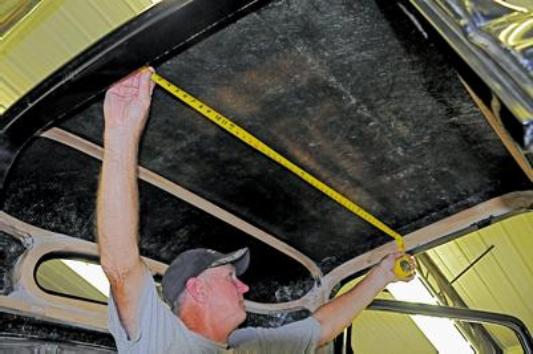 The roof area was installed first to eliminate potential damage of the HushMat Ultra sheets on the floor, if installed first. As you can see a measurement of the roof width was taken to find the center. The roof area was installed first to eliminate potential damage of the HushMat Ultra sheets on the floor, if installed first. As you can see a measurement of the roof width was taken to find the center. 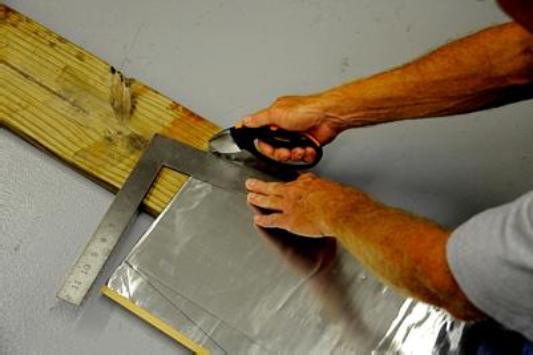 The HushMat Ultra can be cut to fit any area using a straight edge and utility knife on a piece of wood as shown here. The HushMat Ultra can be cut to fit any area using a straight edge and utility knife on a piece of wood as shown here. 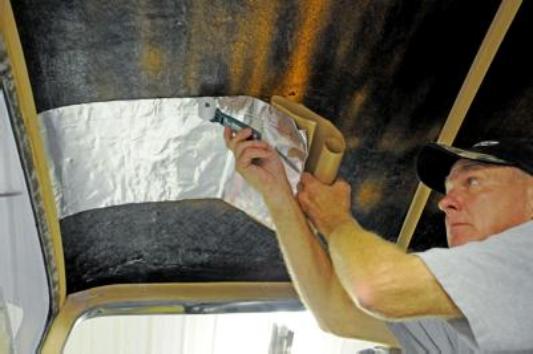 The decision was made to run the sheets longitudinal with the marked centerline. Here the small hard roller is being used to roll the sheet down as the backing paper is removed. The decision was made to run the sheets longitudinal with the marked centerline. Here the small hard roller is being used to roll the sheet down as the backing paper is removed. 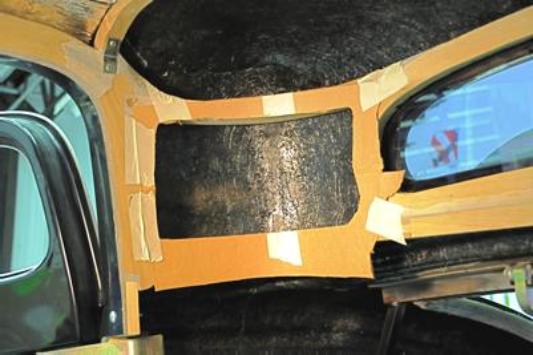 Next I used an exacto knife to cut out the area behind the cardboard giving me a perfect template. Next I used an exacto knife to cut out the area behind the cardboard giving me a perfect template. 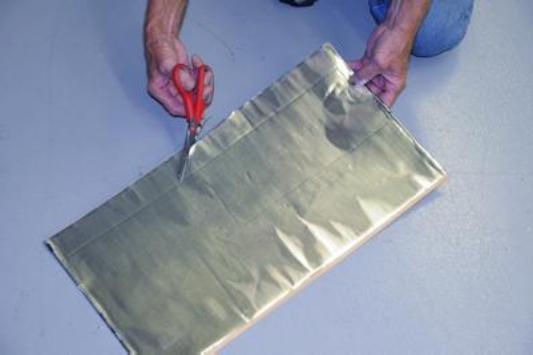 Now simply cut out the traced line on the HushMat Ultra sheet using the scissors. Now simply cut out the traced line on the HushMat Ultra sheet using the scissors. 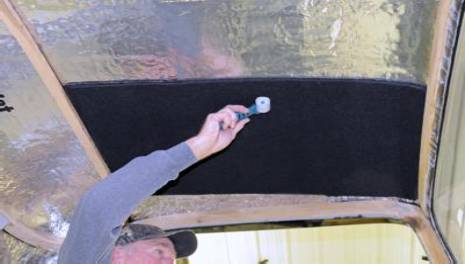 . Next, the HushMat Silencer Megabond thermal insulating and high frequency sound absorbing semi-close cell foam rubber sheets were installed along the center line of the roof area. The small roller was used to roll it down firmly. . Next, the HushMat Silencer Megabond thermal insulating and high frequency sound absorbing semi-close cell foam rubber sheets were installed along the center line of the roof area. The small roller was used to roll it down firmly. 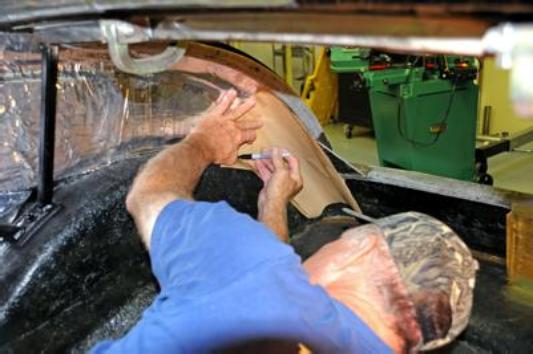 The sides of the body were the next area’s to cover. The open flat sections were covered first and then patterns were made again using the waxed backing paper peeled off of prior sheets. Draw out the area by pressing the paper into the section to be covered and trace it out with a felt tip pen The sides of the body were the next area’s to cover. The open flat sections were covered first and then patterns were made again using the waxed backing paper peeled off of prior sheets. Draw out the area by pressing the paper into the section to be covered and trace it out with a felt tip pen 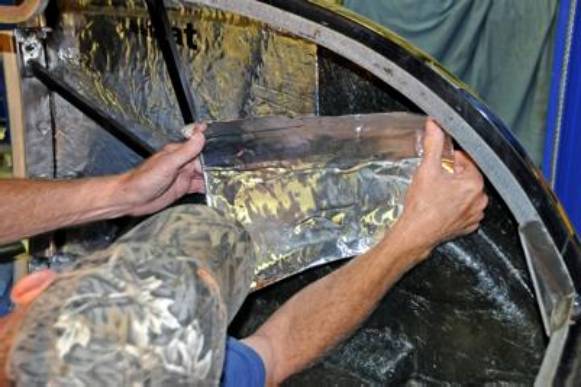 . This piece is now easily installed in the area it was made to fit into. The HushMat is so very easy to install and really sticks to the surface well. On compound curves like this area, it forms easily and lays down very nice . This piece is now easily installed in the area it was made to fit into. The HushMat is so very easy to install and really sticks to the surface well. On compound curves like this area, it forms easily and lays down very nice  The next area to be covered is under the dash/cowl on a ‘32 Ford. The underside of the cowl is exposed to the outside, so heat and sound deadening is important. This first sheet was placed in the very center under the cowl. The next area to be covered is under the dash/cowl on a ‘32 Ford. The underside of the cowl is exposed to the outside, so heat and sound deadening is important. This first sheet was placed in the very center under the cowl. 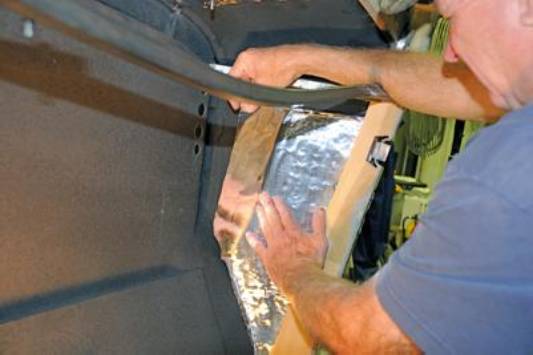 The front kick panel area on the passenger side is installed after making a pattern as described earlier. The front kick panel area on the passenger side is installed after making a pattern as described earlier. 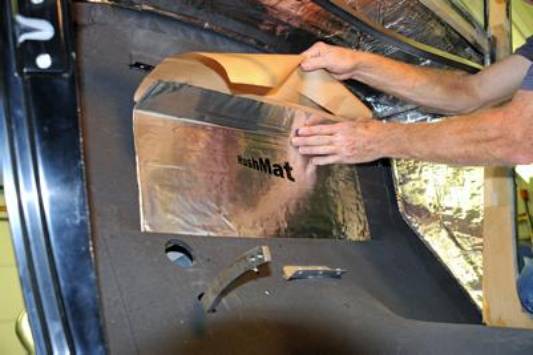 The next area to cover is the firewall. Again I started in the center of the firewall and filled in the sides as needed. Simply mark, press, and peel, it’s that easy! The next area to cover is the firewall. Again I started in the center of the firewall and filled in the sides as needed. Simply mark, press, and peel, it’s that easy! 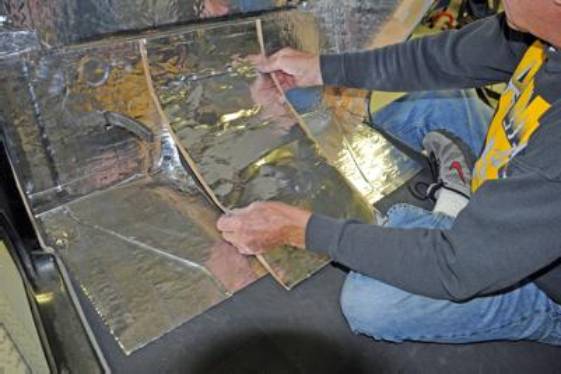 The next sheets of HushMat Ultra were laid next to each other as shown. The next sheets of HushMat Ultra were laid next to each other as shown. 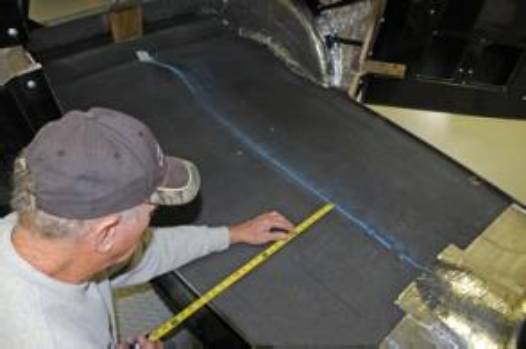 Now measure from the center line to determine where the sheets will go to make the best use of all the material and have a neat looking installation. Now measure from the center line to determine where the sheets will go to make the best use of all the material and have a neat looking installation. 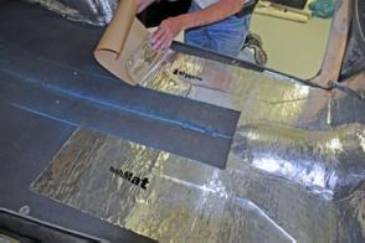 | 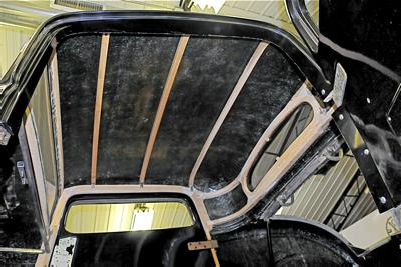 The roof in the coupe has wooden bows for attaching a headliner. I unscrewed them from the wood frames around the doors, and removed them for ease of installing the HushMat sheets. The roof in the coupe has wooden bows for attaching a headliner. I unscrewed them from the wood frames around the doors, and removed them for ease of installing the HushMat sheets. 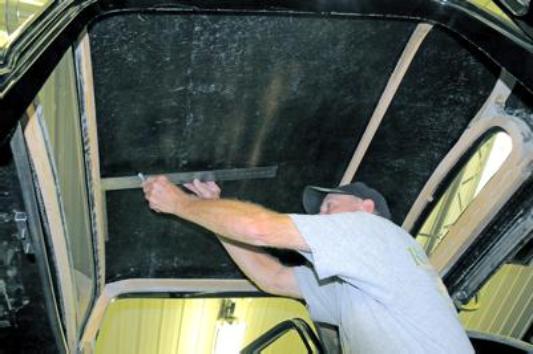 After locating the center of the roof area, a straight edge and felt tip pen were used to draw a line on the roof. I found this to be a good way to decide how I was going to install the HushMat Ultra sheets and get the most material use without waste. The HushMat Ultra sheets are 12X23 inches After locating the center of the roof area, a straight edge and felt tip pen were used to draw a line on the roof. I found this to be a good way to decide how I was going to install the HushMat Ultra sheets and get the most material use without waste. The HushMat Ultra sheets are 12X23 inches 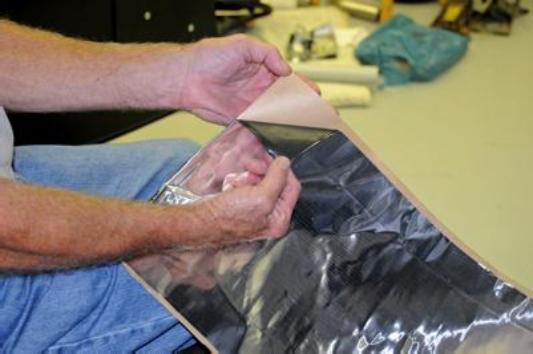 The HushMat Ultra can be cut to fit any area using a straight edge and utility knife on a piece of wood as shown here. The HushMat Ultra can be cut to fit any area using a straight edge and utility knife on a piece of wood as shown here. 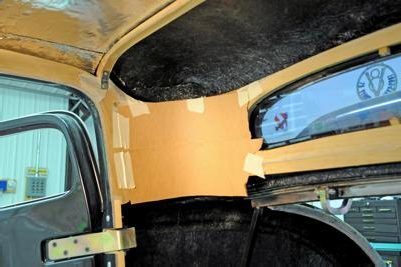 The wood frame areas on both sides of the rear window were going to be a problem, so I used a scrap piece of soft cardboard that conformed to the opening. I then used masking tape to hold it in place over the opening. The wood frame areas on both sides of the rear window were going to be a problem, so I used a scrap piece of soft cardboard that conformed to the opening. I then used masking tape to hold it in place over the opening. 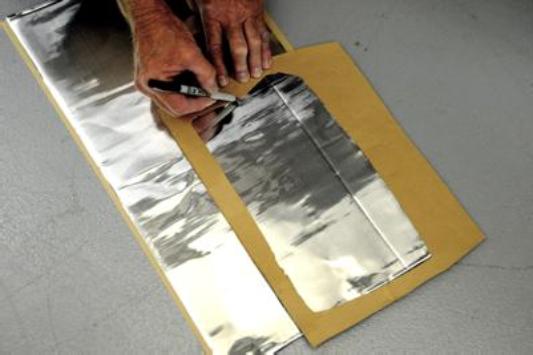 Using the template just made, I traced it onto a sheet of HushMat Ultra with a felt tip pen as shown. Using the template just made, I traced it onto a sheet of HushMat Ultra with a felt tip pen as shown. 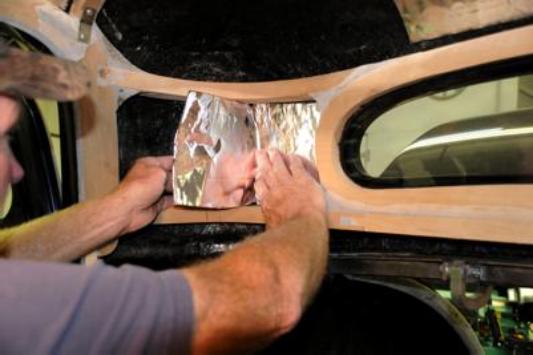 The piece of HushMat just cut out can now be easily placed into the tight area next to the rear window as shown. The piece of HushMat just cut out can now be easily placed into the tight area next to the rear window as shown. 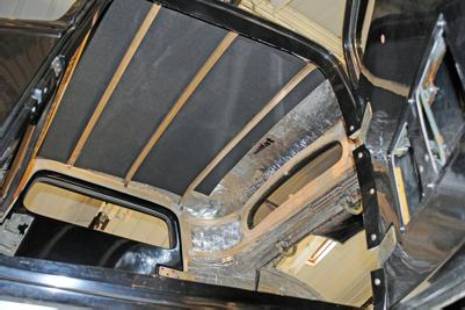 The wooden bows were reinstalled after the Silencer Megabond material was installed. The wooden bows were reinstalled after the Silencer Megabond material was installed. 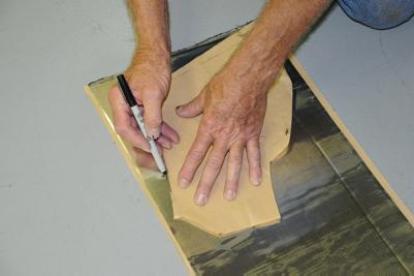
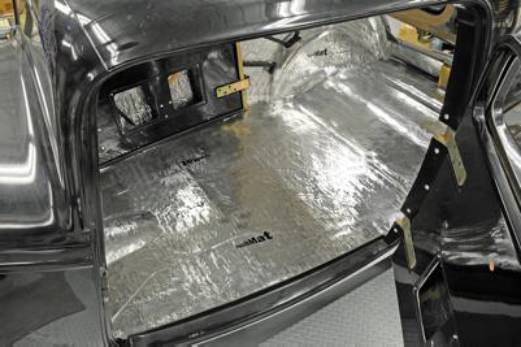
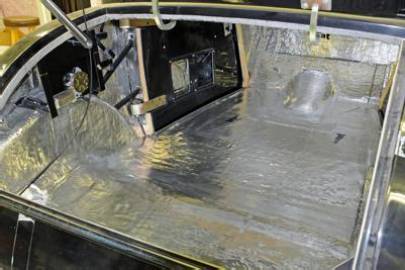
After cutting out the drawing made on the backing paper, the pattern is placed on another sheet of HushMat Ultra and traced with a felt tip pen.  Here the piece is installed and the fit is perfect Here the piece is installed and the fit is perfect 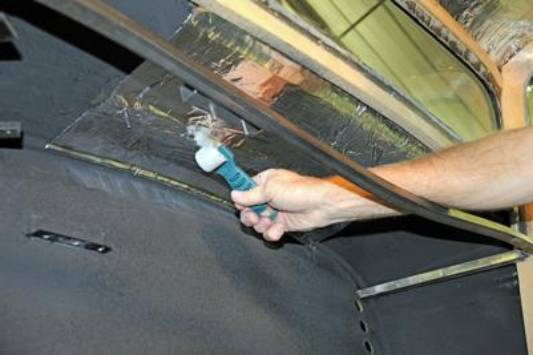 Here the sheet is rolled down using the small roller Here the sheet is rolled down using the small roller 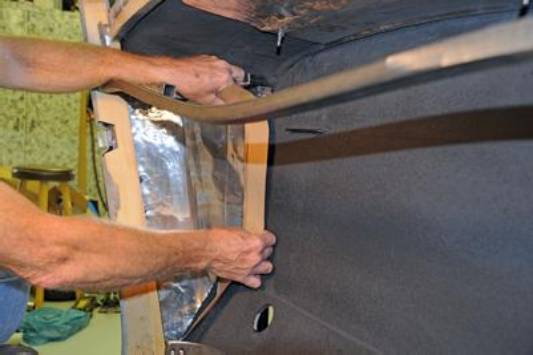 Using the same pattern, I merely turned it over or reversed the pattern, to make the piece for the driver side Using the same pattern, I merely turned it over or reversed the pattern, to make the piece for the driver side  The floor is next. The brake pedal arm comes through the floor as most street rods do, so I simply measured where I needed to cut out for it and then slipped the sheet over the pedal arm as shown. The floor is next. The brake pedal arm comes through the floor as most street rods do, so I simply measured where I needed to cut out for it and then slipped the sheet over the pedal arm as shown. 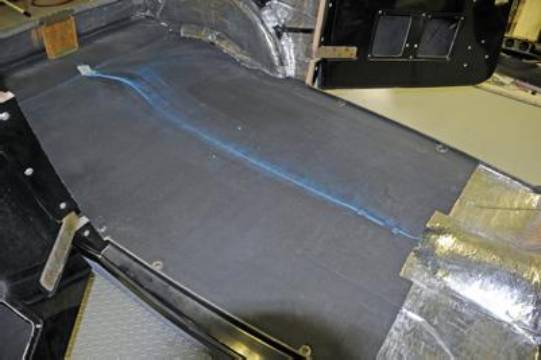 The center of the floor was determined next and a chalk line was snapped to mark it. The center of the floor was determined next and a chalk line was snapped to mark it. 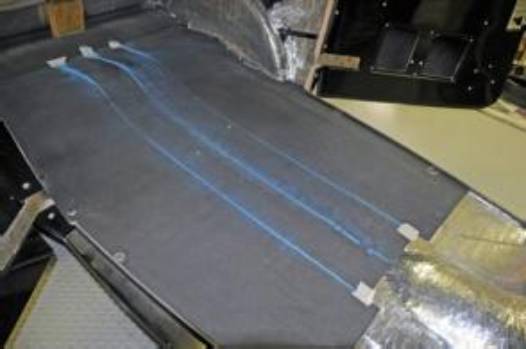 After determining these measurements, two more caulklines were snapped After determining these measurements, two more caulklines were snapped 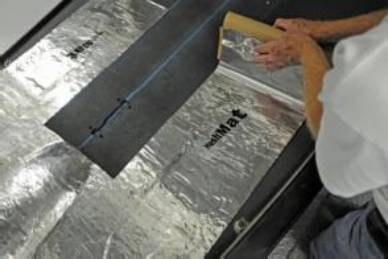 The sheets were then laid down along these guide lines. This will produce a very straight and neat installation. The sheets were then laid down along these guide lines. This will produce a very straight and neat installation. |
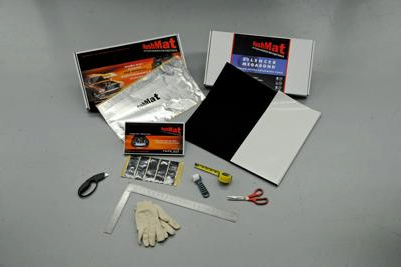 These are the HushMat products and suggested tools needed to install Hushmat in any type vehicle. A tape measure, scissors, utility knife, straight edge, and small hard roller are essential, but the gloves are optional. The edges of the foil can cut your hands so the gloves may be helpful. I personally didn’t need them and had no problems.
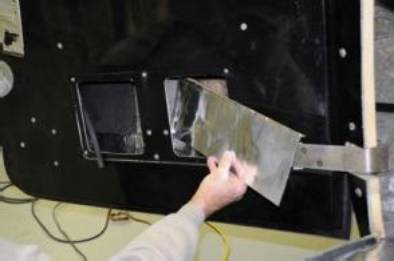
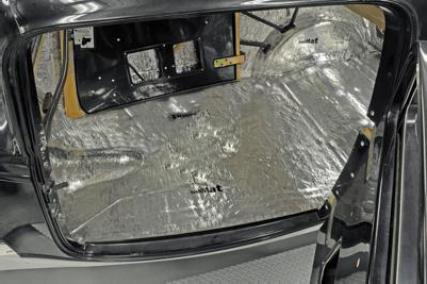
 Installation of the bottom part of the doors was done using horizontal pieces of HushMat
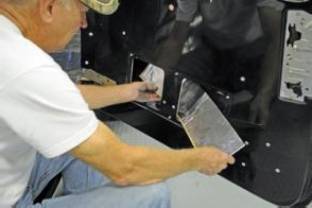
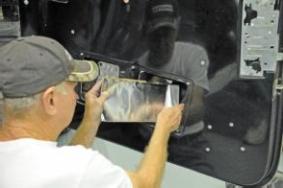 The doors were next to be covered on the insides. The 12X23 inch sheets were cut in half for ease of installing them through the small openings in the doors. I was able to install the pieces and then pull the baking paper off inside the doors which worked out fine and keeps them from sticking to other areas as they are installed.
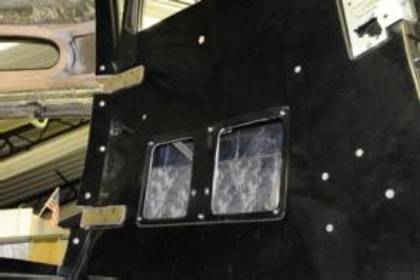
 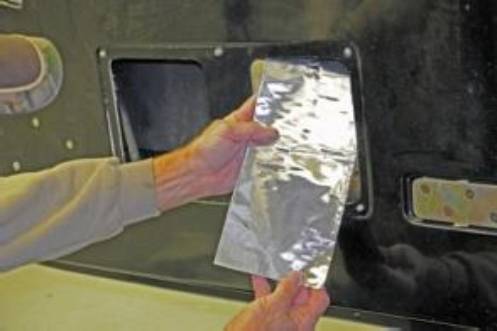 I was able to cover almost every square inch inside the doors. The top most areas were covered by using vertical cut sheets as they will reach up to the top of the door easily. This method worked out great!