| “Disconnected” by Dennis Overholser Painless PerformanceGadgets, bells and whistles. Sound familiar? All these things we are adding to our specialty vehicles are requiring more and more electrical current and the big problem is some of them consume power when the ignition is off. The bottom line? The battery charge is drained after the vehicle has been setting for a while and when it is time to go cruising the engine won’t start.You are at a car show, or rod run, out of town and at the end of the day you head for the hotel to retire for the evening. You lock up the car, go inside where you can’t see it anymore and you stay awake half the night wondering if someone is tampering with your pride and joy.The most common solution to these situations is to install a master disconnect in the battery cable to shut down power to the vehicles electrical system. The problem in most cases is the battery cables are not where a disconnect can be installed and be easily accessible and yet still hidden. Painless Performance Products has a new remote mount master disconnect that can be mounted any where in the vehicle. The heart of the system is a 250 amp continuous duty, water resistant, remotely operated solenoid. A small switch may be mounted in a secret place in the vehicle which will turn on and off the solenoid. No more levers to turn after you have become disjointed to be able to reach it.In the next few photos you can see how easy it is, about 30 minutes, to install a master disconnect you can actually get to. | ||
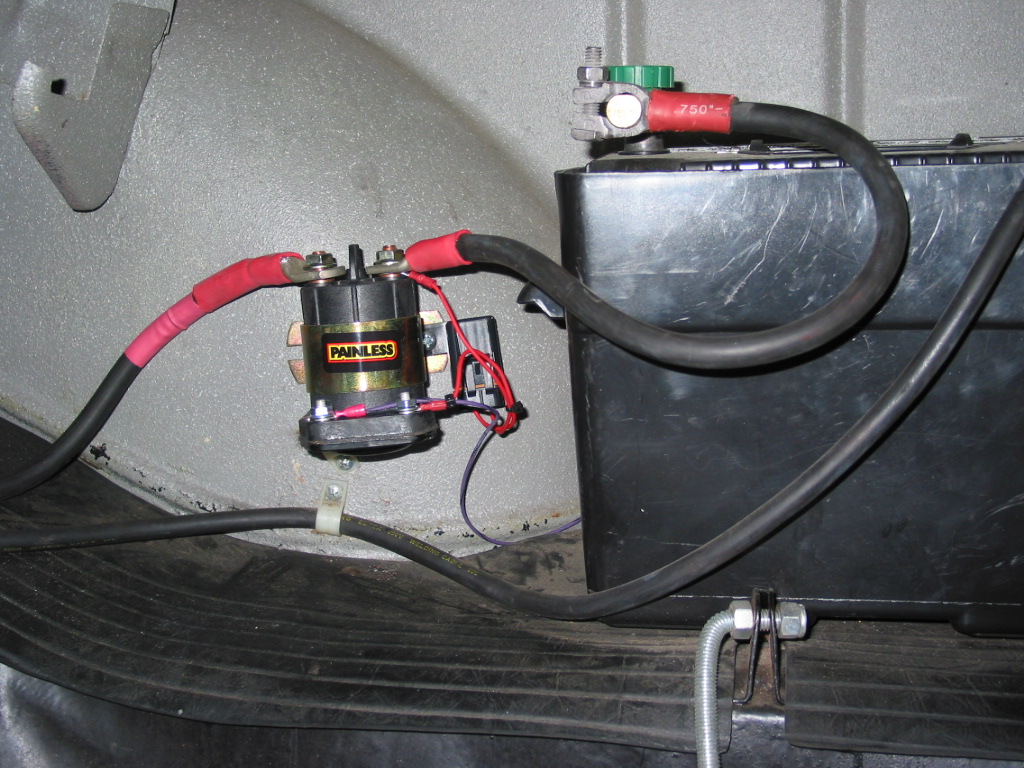 |  | |
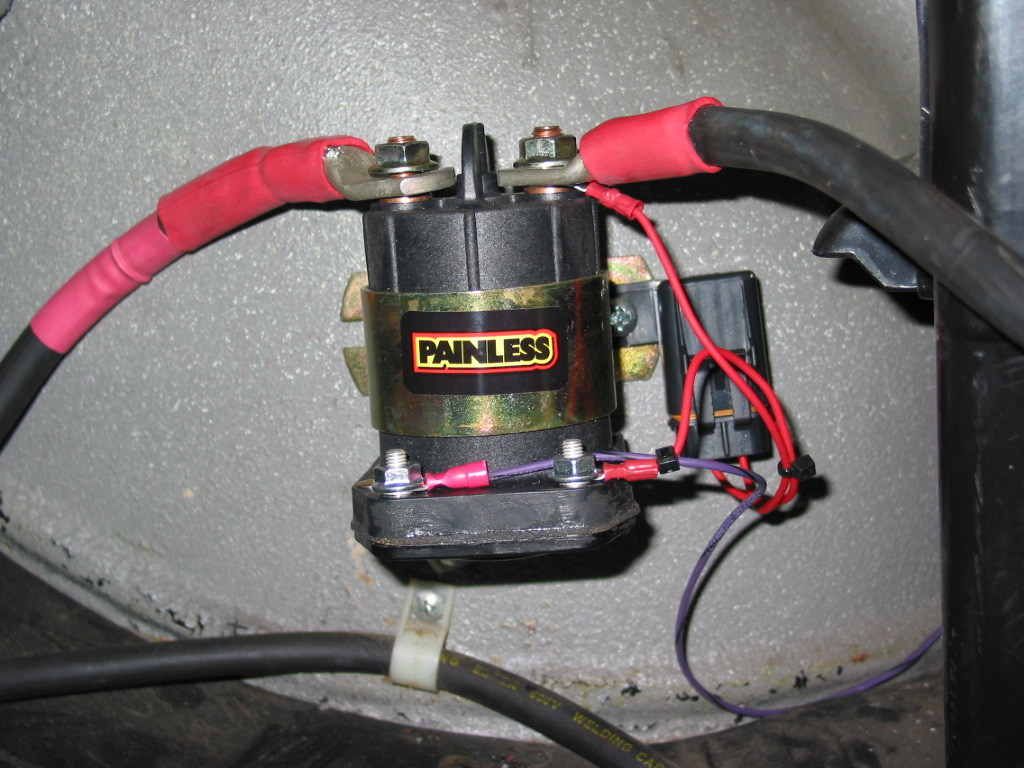
| Completed Installation. | 2 As with any electrical installation or modification the first thing to do is disconnect the battery. In this case the car is a 56 Chevrolet and the battery is in the trunk which makes for easy access. | |
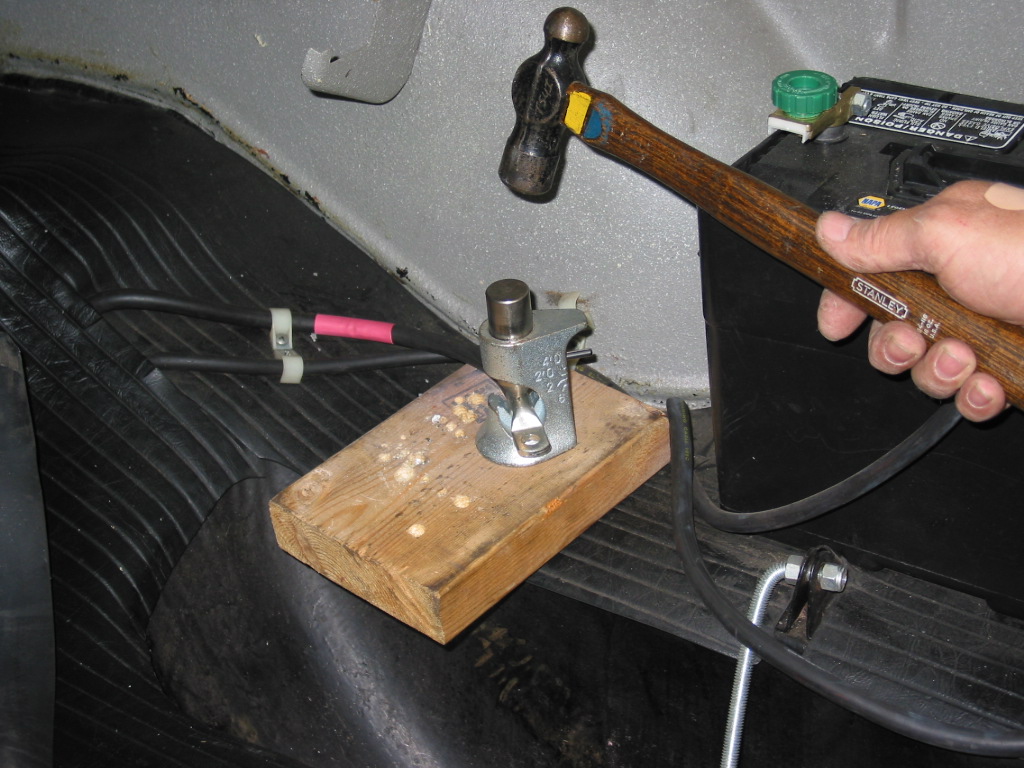 | 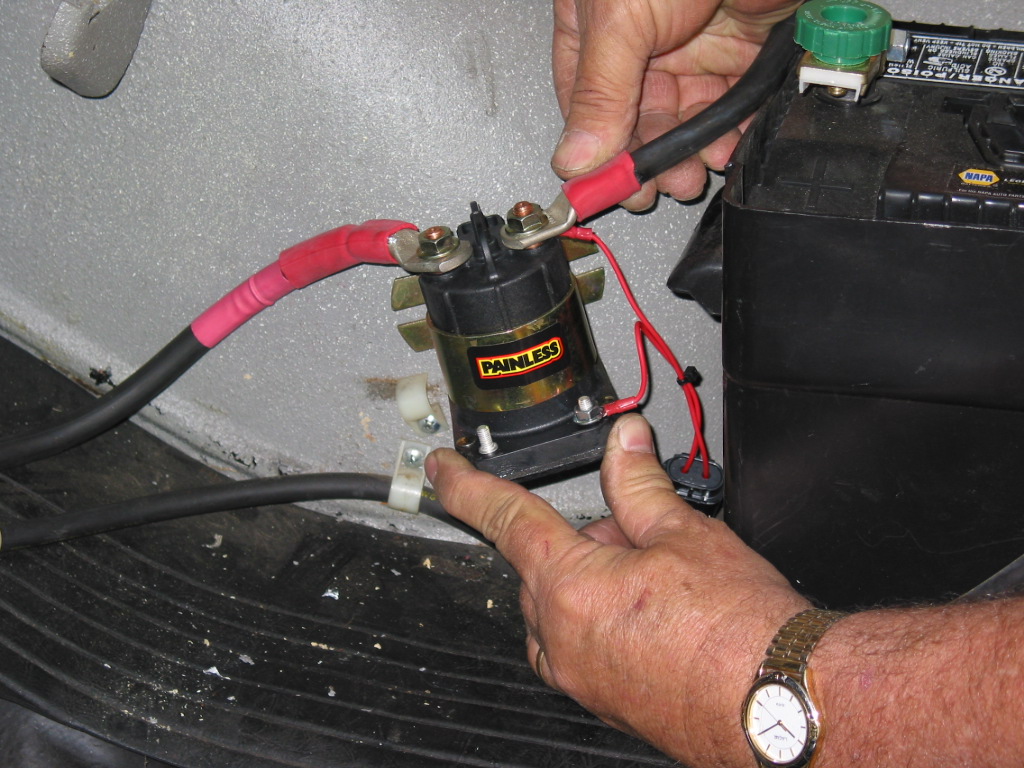 | |
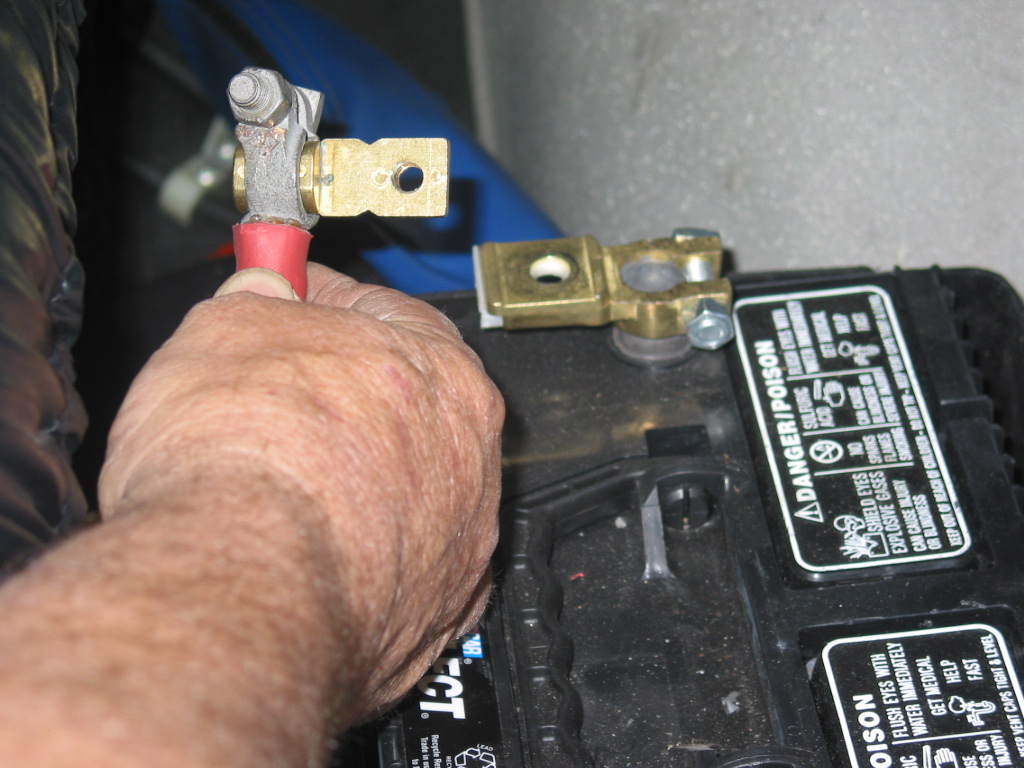
| The decision was made to mount the disconnect solenoid on the fender well next to the battery. The cable was cut to the length needed to reach the input terminal of the solenoid and the furnished copper lugs were crimped on using a swage tool. | After the terminals were installed, glued heat shrink, also available from Painless, was installed to prevent any cable corrosion. The cables were then attached to the solenoid main terminals. | |
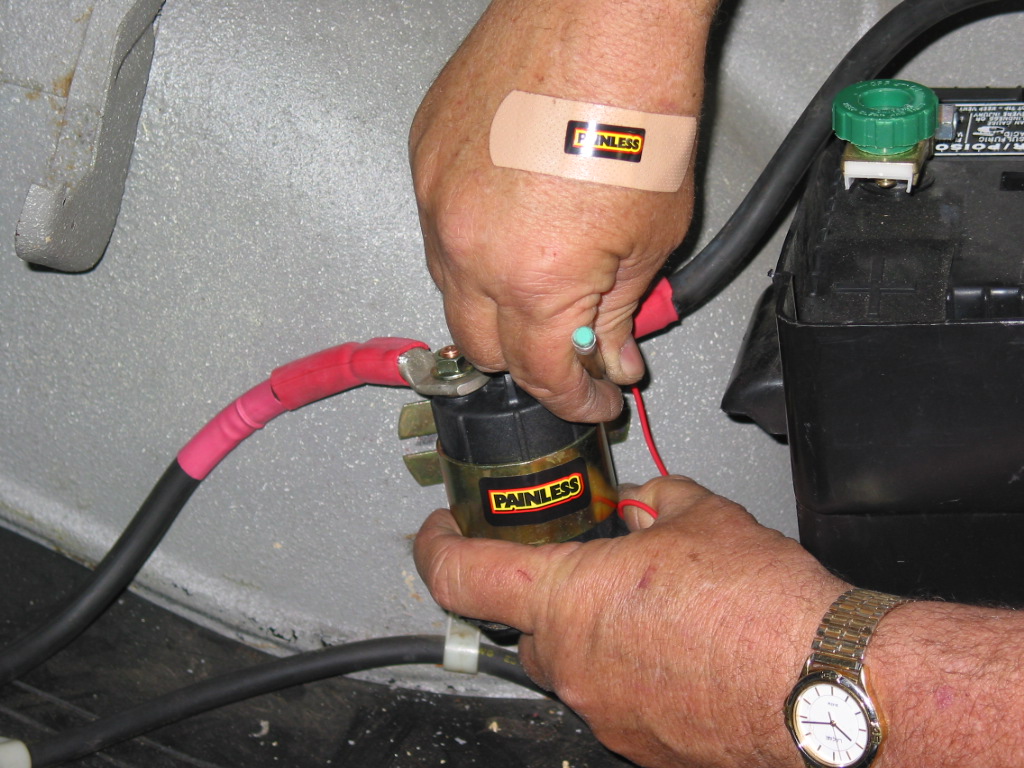 | 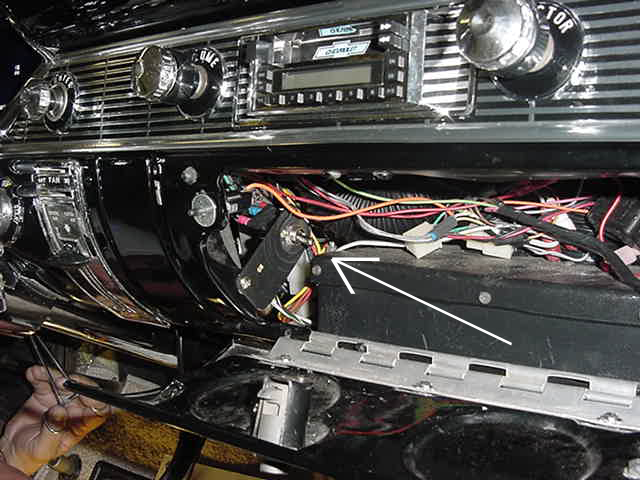 | |
| After forming the cables for the right fit, the inner fender was marked and holes drilled for the furnished solenoid mounting bolts. | The toggle switch, furnished in Painless kit, for operating the solenoid was mounted to a bracket and installed in the glove box. The switch may be mounted any where in the car which can be easily accessible and hidden from sight. The black wire attached to the solenoid was then routed to the switch. By activating the switch, it grounds one side of the solenoid pull in coil and allows current to flow. | |
 | Article furnished by: Painless Performance Wiring | |
| With all the wires attached, the installation is complete. The fuse holder attached on the side of the solenoid is for protection of the coil windings and switch. The battery cables are re-attached and the system is ready for operation. | ||
VIP Sponsors
Sponsors