| “Signaling That Turn” Dennis Overholser Painless Performance.comWe all know that driving in today’s high speed world can be a challenge. From LA freeways to the rural roads of Kansas, safety is in the forefront of our minds. If your Streetrod or Classic is as dear to you as mine to me, you want it to have all the features possible to make it safer.Turn signals are taken for granted in today’s automobiles. We don’t give it a second thought to signal when changing lanes or pull into our driveway. If your special ride doesn’t have signals, it can be scary.If you own a pre 50’s car or truck, chances are you don’t have signals in the factory column. Painless Performance has a solution without using one of those big add on units that look like they came out of a big truck. The Painless kit uses a set of relays and two toggle switches to control signals, hazard flashers as well as the brake lights. The system is designed to have integrated brake lights so a standard 1157 bulb in the rear will do tail lights as well as stop and turn. The pre-assembled harness, which is included, will service all four turn signals as well as the indicator lights in the dash and only requires one flasher.Don’t take the chance of driving with out signals. Let other drivers know your intentions. This simple kit may save a precious fender or worse a trip to the hospital.Following are installation instructions for adding a Painless Turn Signal kit to a car with a Painless Performance Wiring Kit already installed. | ||
 | 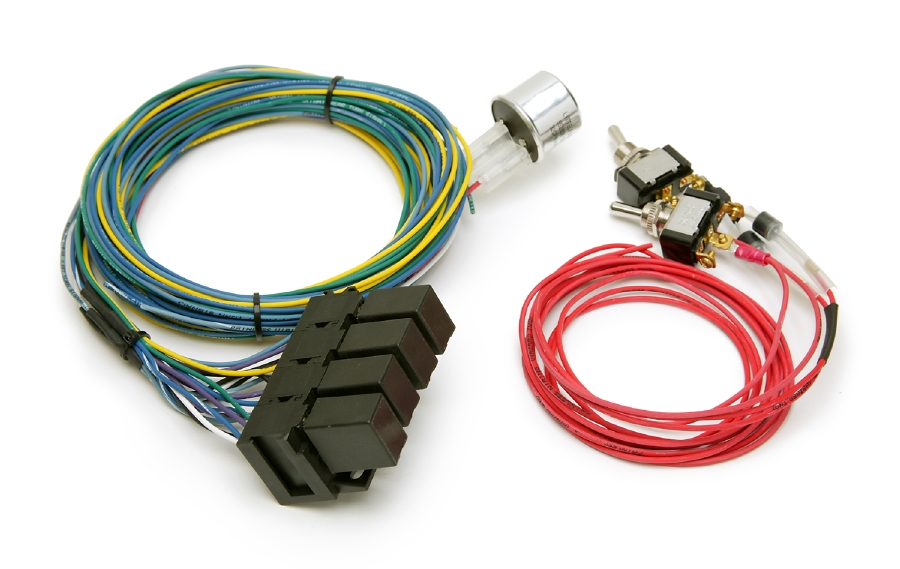 The 30120 Painless kit comes complete with relays, a flasher, switches and harness to make it simple to have turn signals and emergency flashers. | |
| Ford factory steering column had no provisions for signals. Now it is possible to have turn signals and still keep that original look. | ||
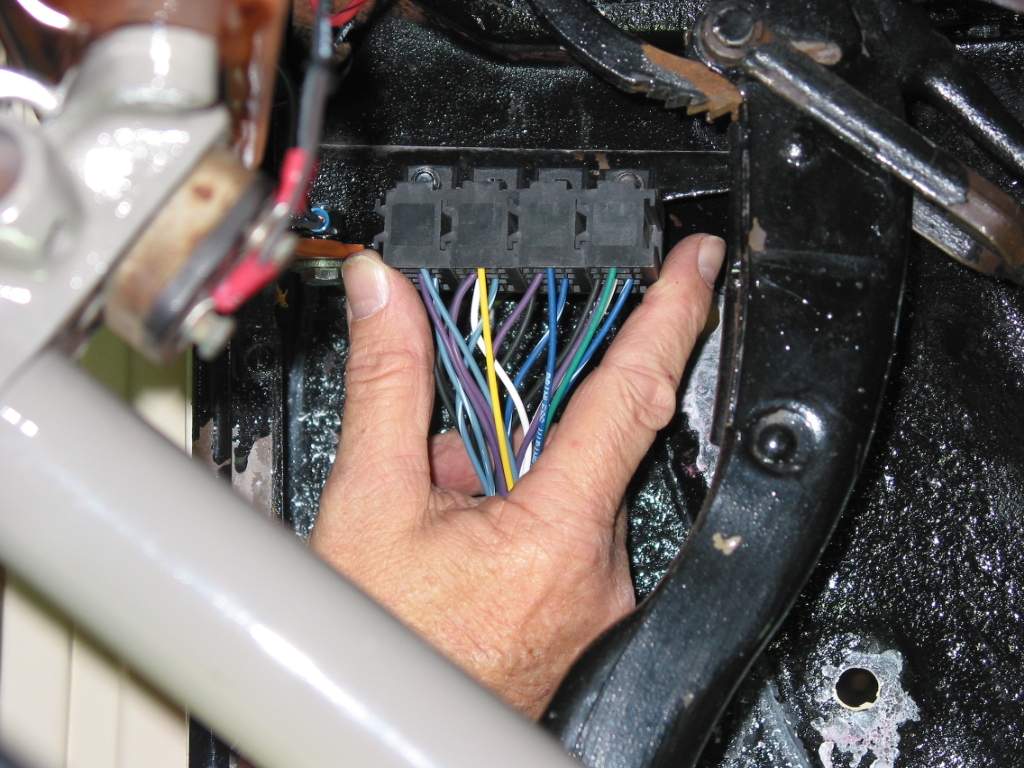 |  | |
| The first step of installation is to mount the relays. Their compact design will allow mounting in almost any location | Since this car had just been wired, locating the chassis harness wires for the signals was easy. They will be spliced to the Painless kit later. | |
 | 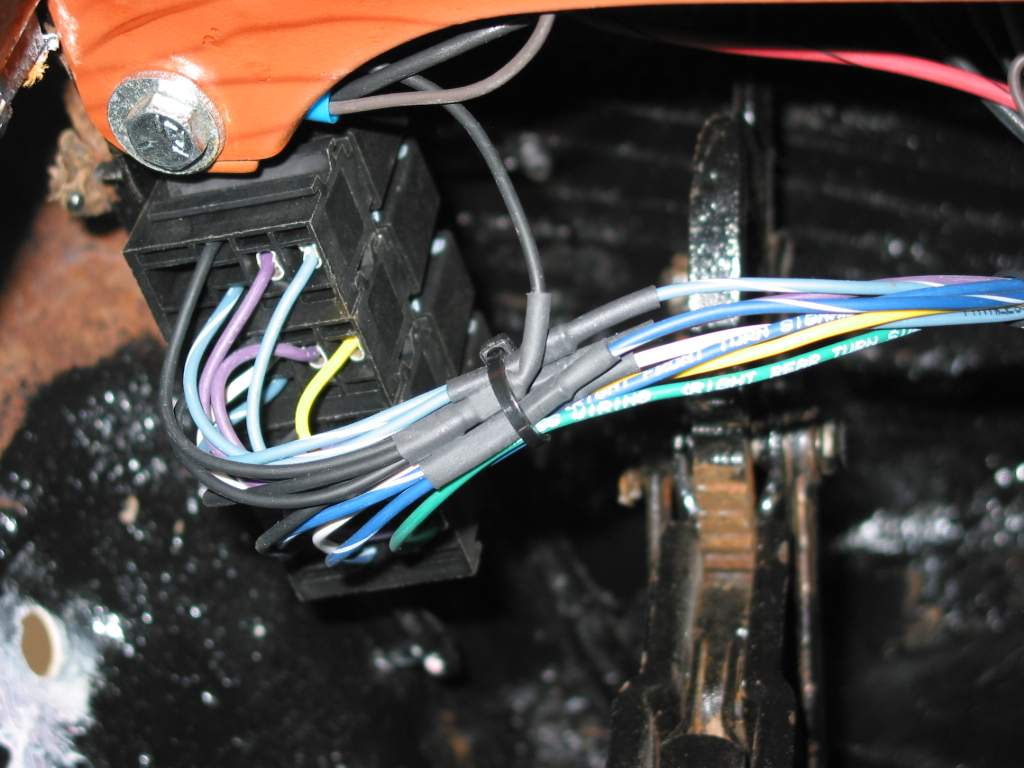 | |
| With the relays mounted, a ground wire for them is terminated and ready to attach. As with any electrical system, insure the body is grounded to the chassis and engine to prevent any possible feedback. | The wires from the relays have the same color code as the chassis harness so it was simple to splice the wires together. | |
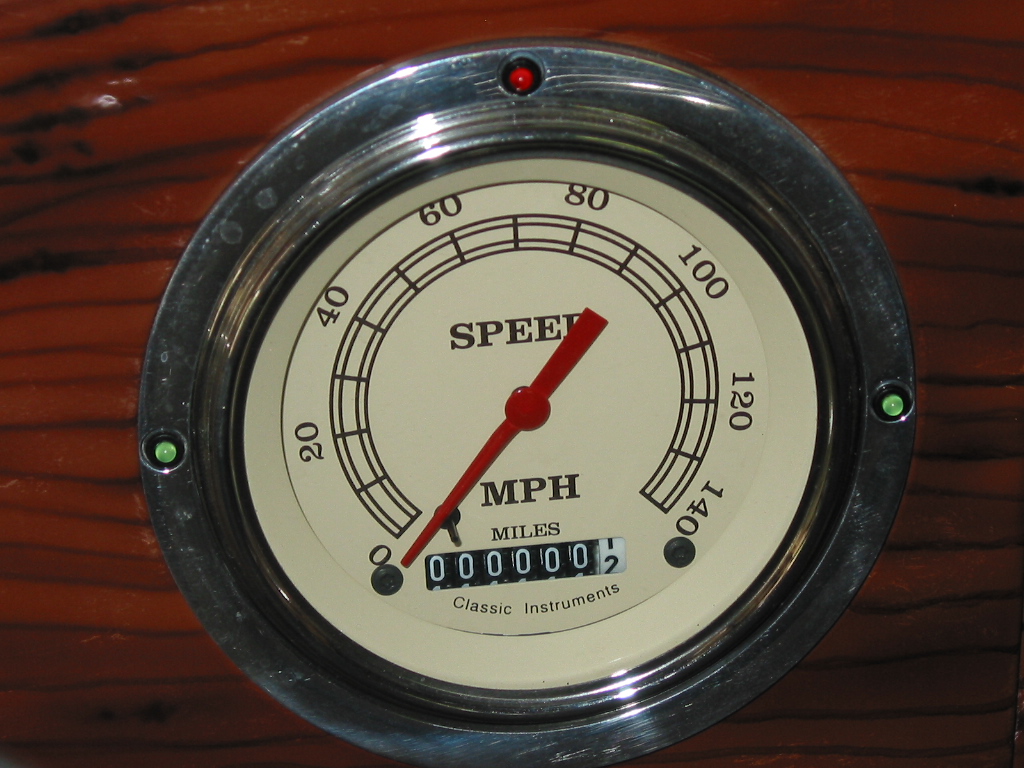 | 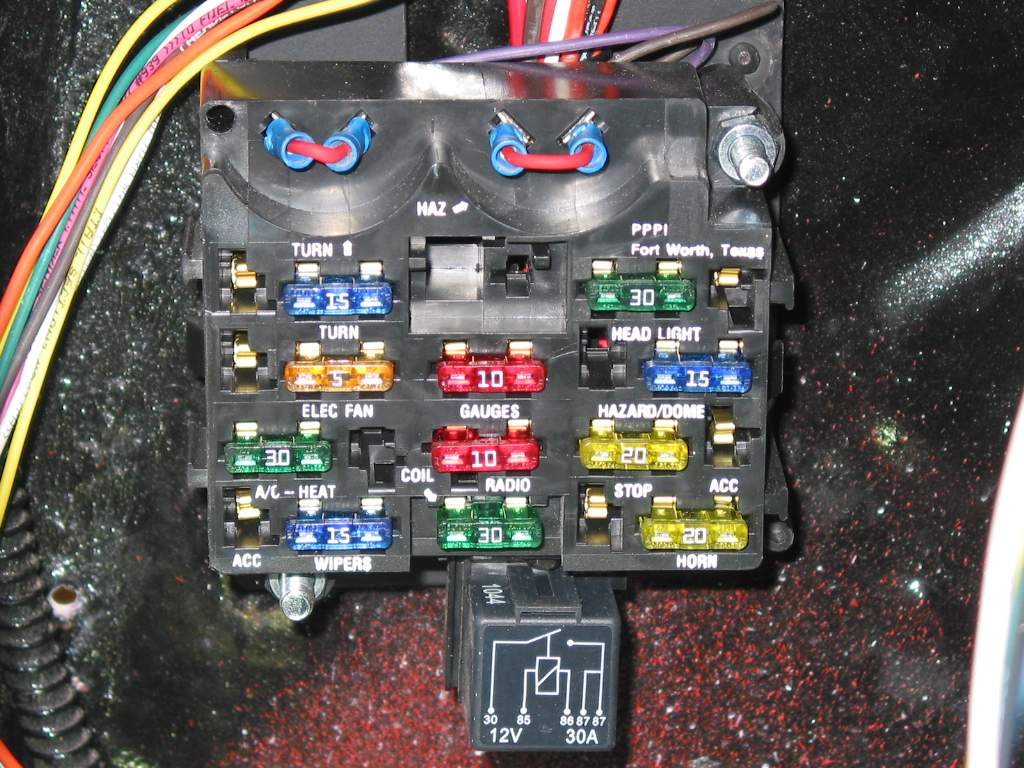 | |
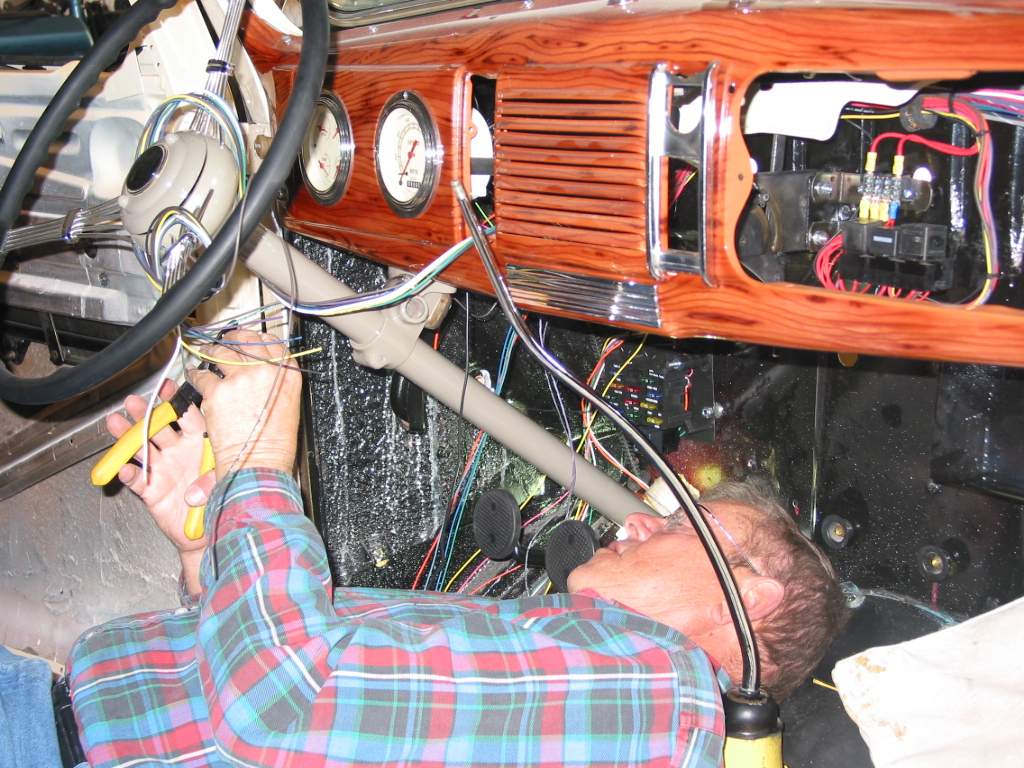
| The turn indicators, like the ones shown in this dash cluster, are also provided wires in the harness. | Since the kit is designed to be a stand alone unit, and not use the flashers in the fuse block, small jumpers were made and installed into the flasher ports of the fuse block. This will allow fused current to flow to the relays and kit flasher. | |
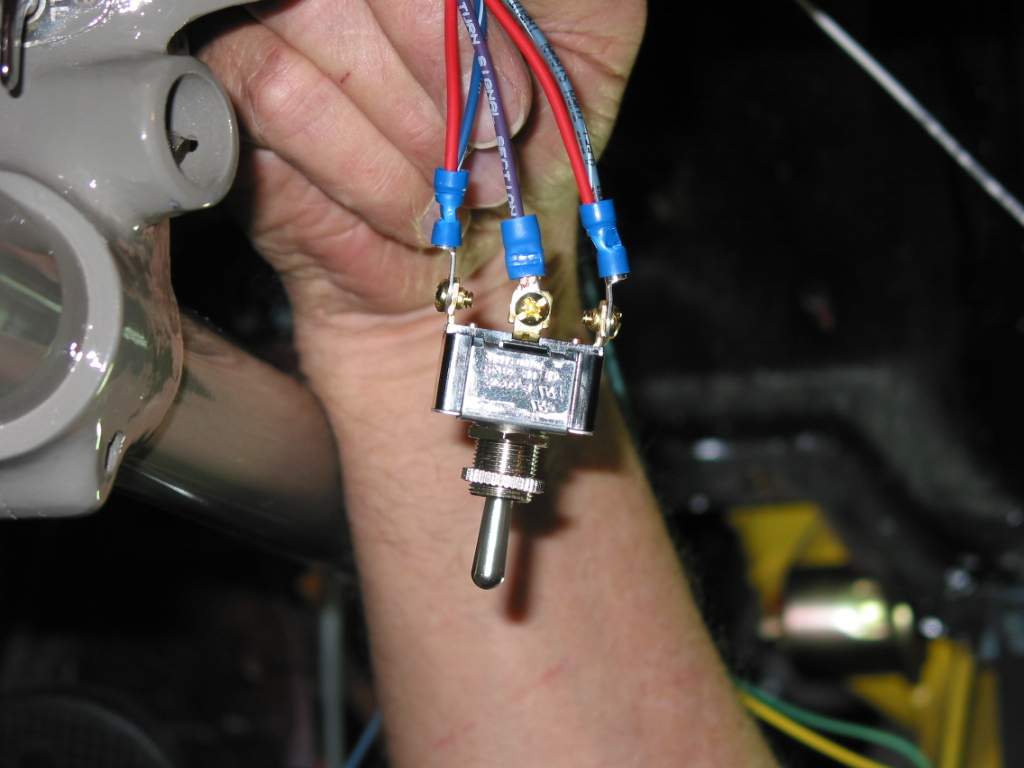 |  | |
| The toggle switch for the turn signals, provided, is wired and ready for installation. | The flasher provided in the kit is now installed. | |
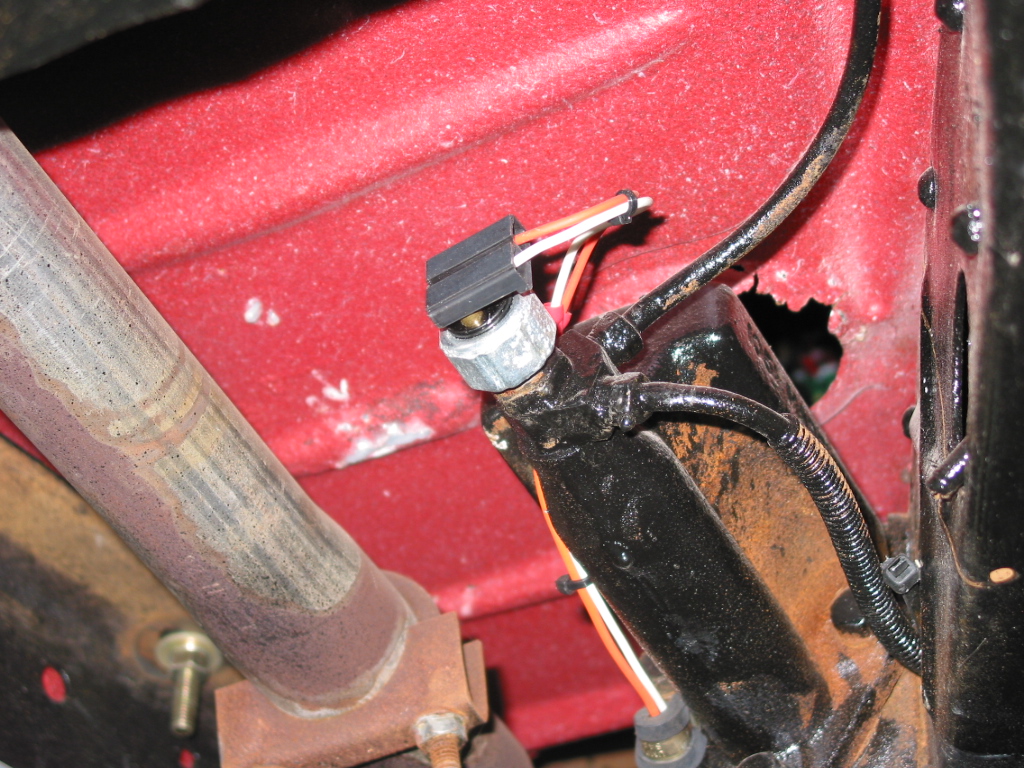 | 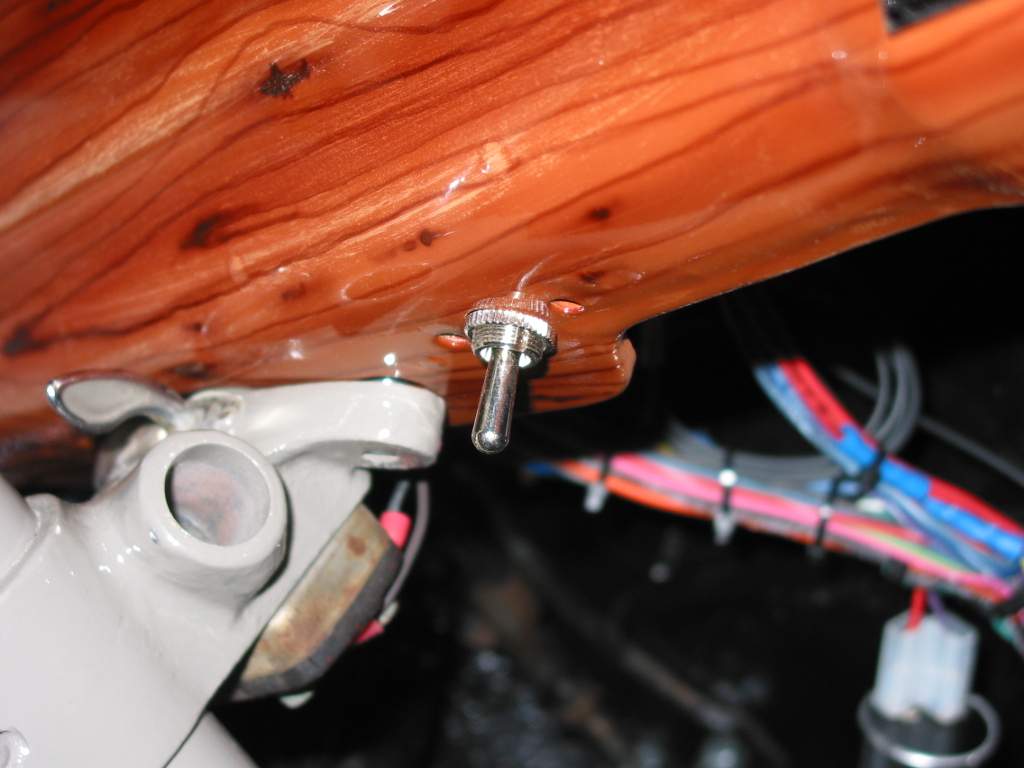 | |
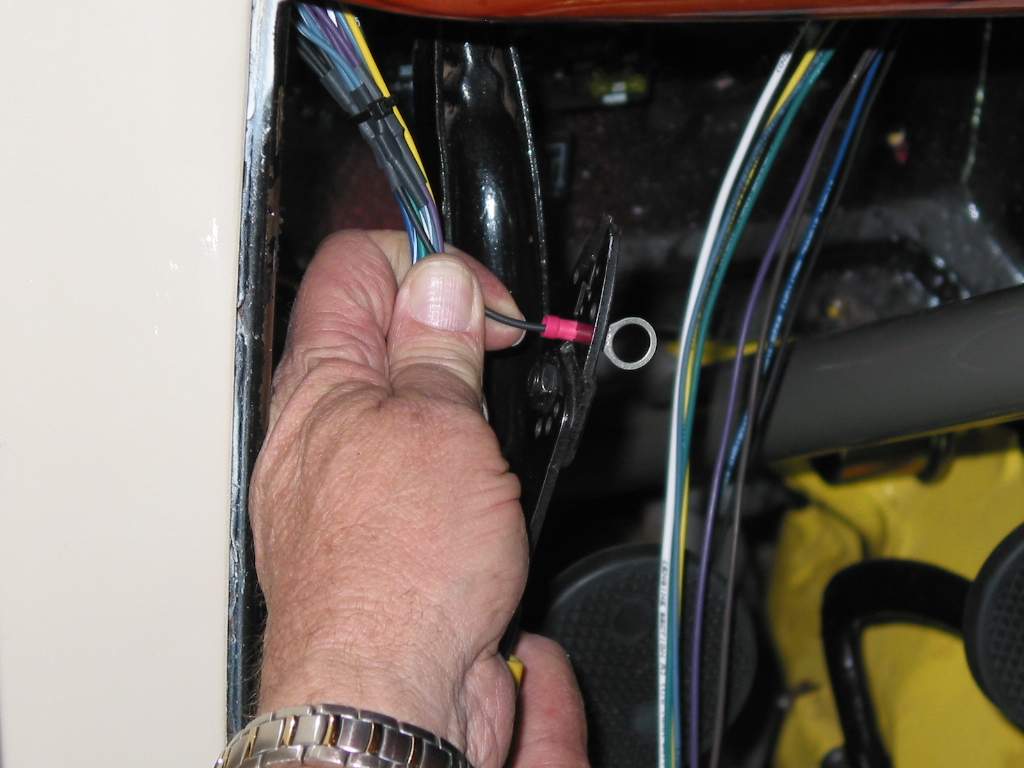
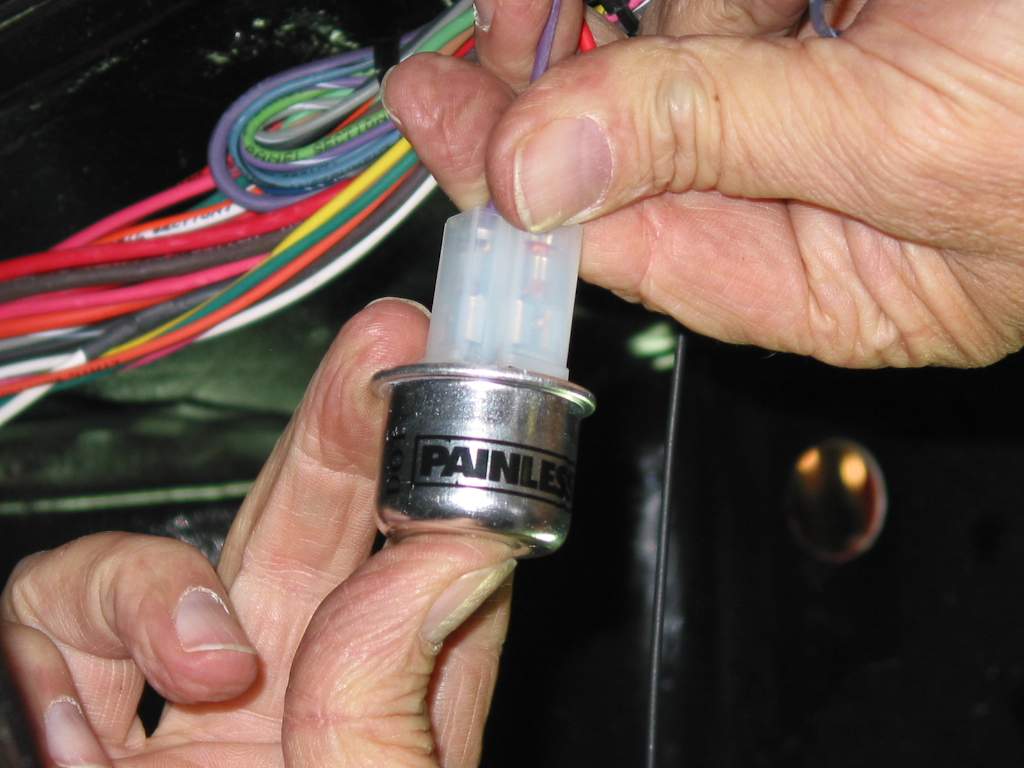
| The white wire from the kit is attached to the brake switch. This switch is a hydraulic style but the kit will also work with the button under dash style. This wire is essential for integrated flasher and brake lights. | The toggle switch was mounted under the dash near the steering column which has easy access. Flip the switch to the left and the left signals will operate. The same is true with the switch flipped to the right, the right signals operate. Center position is off. | |
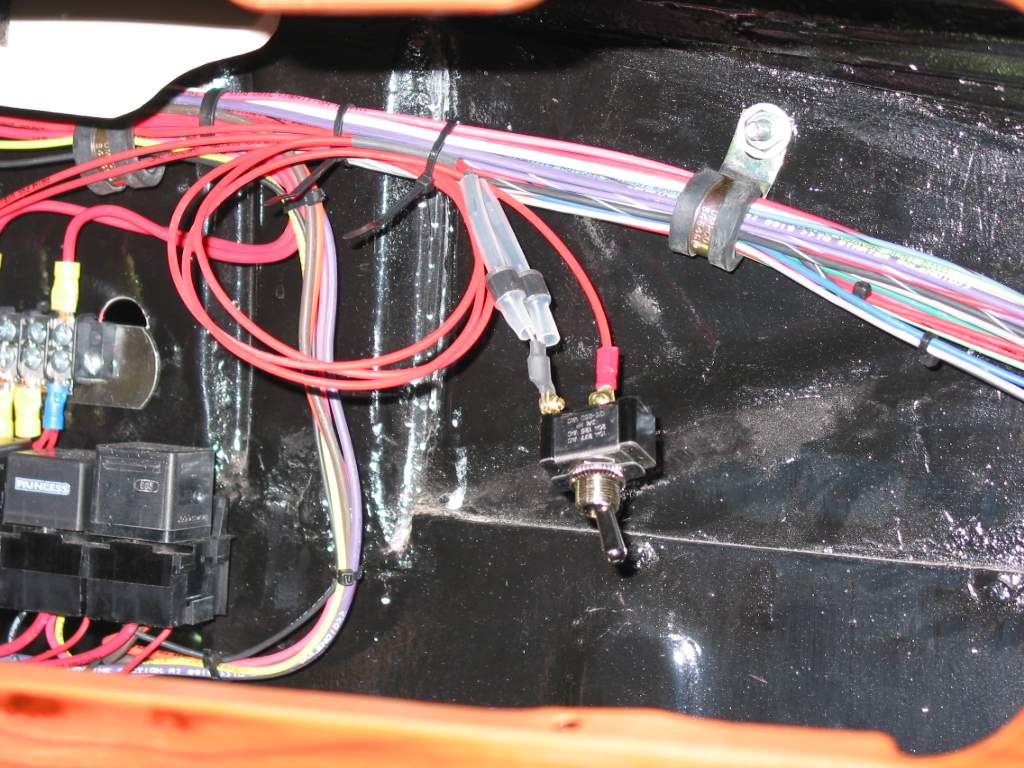 | ||
| Lastly, the emergency flasher switch is wired and tied up out of the way. It will later be installed in the glove box out of sight. The pre-installed diodes in the red wires prevent back feed to the rest of the system. | ||
VIP Sponsors
Sponsors