Words: Tommy Parry
Finding the time and money to complete an ambitious restomod project between work and college is no mean feat. Travis, a lifelong overachiever, nonetheless relished the challenge. After he purchased the Camaro from his friend for peanuts, he outlined a long list of objectives for this rust-free and very motivating example.
He started with plenty of enthusiasm. “Within a few days of it sitting in my garage, I decided I wanted it; in a way, the car spoke to me, as if it needed to get restored right. I love the fact that my friend Rob and I are doing something that no one has tried, and I hope that it will open up a lot of options for people wanting to do a resto-mod build and run independent rear suspension without having to pay $14,000.”
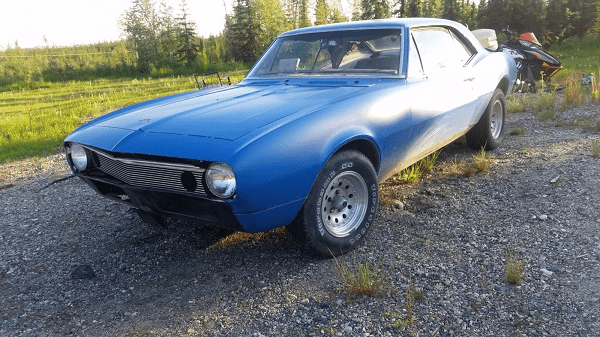
The first order of business was stripping the car of the cheap paint which, thankfully, had protected it from the Alaska elements over the last quarter century. Save for a few spots on the drip rails, the car was almost completely cancer-free. Being an aircraft technician, Travis was well acquainted with stripper and quickly got down to removing the paint. It was at this stage he learned that the previous owner didn’t know the first thing about Bondo.
Sanding and primering came next, which proved to be an arduous process. Before the snow hit, Travis had reduced the entire car down to bare metal and gotten it coated with primer. He then realized he didn’t have the tools or knowledge to meet his exacting standards. He had at least learned the proper technique of washing the entire car, wiping it down, washing again, wiping more, and then doing the same with wax and grease remover before coating the car with Nason Ful-Poxy 2K Primer. This last helped do some filler work over and provided good rust protection while he worked on the car.
Next came time for modifications to the footwork. He first started on cleaning up the front subframe, which had about fifty years of dirt and grime on it. First he coated it with POR-15, then painted with High Temp Engine paint and finally, he installed a QA1 Level 2 kit. While he was at it, he installed all new bushings and hardware, since he couldn’t let this car be anything but better than it was when it left the showroom floor.
Once the basic body had been sanded and shaped to his liking, he started building the engine, assembling the mini-tubs and fabricating the rear subframe to accept a 2017 Ford Mustang GT 8.8” rear with independent rear suspension and a 3.73 ratio LSD. With a Full Tilt Boogie bushing kit, he was able to solve the frustrating wheelhop issues associated with this rear end.
“I’m basically having to re-engineer a lot; figuring out how to shove a 64.9” independent rear end where a 60” solid axle once was is pretty complicated with all the factors you have to take into account. Right now, I’m basically having to get myself into some suspension geometry to try and see what I can do to shorten the linkages on the rear without hurting performance of the original design. Thankfully, with the internet there is a lot of software out there to help with theoretical performances, but it’s a lot more than just shoving it up, lining it up, and welding it in,” he explained.
Then came time for the motor. A budget LQ4 block, stuffed with LS3 internals, a Sloppy Mechanics Stage 2 camshaft, and a Holley 302-3 oil pan only set him back ~$3,500 and promised around 400 horsepower.
“I wanted a car that that gets up and goes and corners well,” he said. “I want the car to do well if I end up taking it to a classic car show, but I want it to also handle the punishment of a track day. Not a lot of autocross or any asphalt tracks in Alaska, so I’m mostly looking to build a super clean street monster to turn some heads in the amazing summers we have up here.”
To keep tabs on how this Camaro continues to turn heads, you can visit Travis’ build thread here.